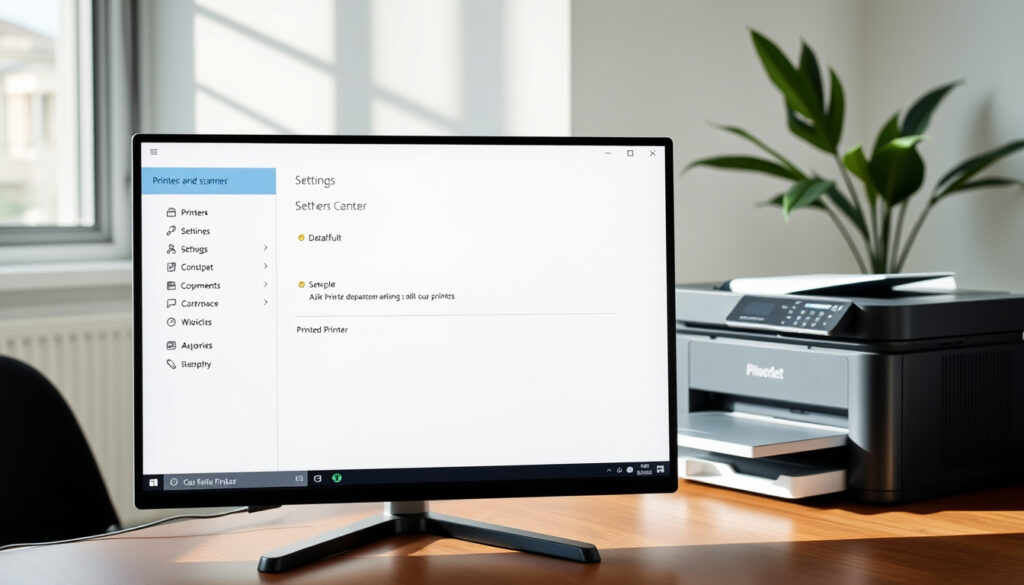
How to Change Default Printer in Windows 10 & 11 (Step-by-Step)
You click Print and the document goes to a printer in a different room — or, worse, to a device you haven’t used in months. This guide walks through the exact steps to set your default printer in Windows 11, 10, and older versions, and explains why Windows sometimes overrides your choice — and how to stop it.
Steps to set default printer in Windows 11: 3 clicks: Settings > Bluetooth & Devices > Printers & Scanners > Set as default ·
Steps to set default printer in Windows 10: 4 clicks: Start > Settings > Devices > Printers & Scanners > Set as default ·
Automatic default printer management: Enabled by default in Windows 10 and 11
Quick snapshot
- Windows 10 and 11 allow manual setting of default printer (Microsoft Support (official Windows guidance))
- Microsoft details the steps for both versions on its support site (Microsoft Support (official Windows guidance))
- No major uncertainties — the procedure is well-documented by Microsoft and third-party support sites (Microsoft Support (official Windows guidance))
- Microsoft last updated its English-language default printer guide on July 20, 2026 (Microsoft Support (official Windows guidance))
- Disable “Let Windows manage my default printer” to keep your selection permanent (Microsoft Support (official Windows guidance))
3 key locations, one pattern: each Windows version places the default printer setting inside the Printers & scanners section of Settings or Control Panel — but the exact menu names differ.
| Label | Value |
|---|---|
| Default printer location in Windows 11 | Settings > Bluetooth & devices > Printers & scanners |
| Default printer location in Windows 10 | Settings > Devices > Printers & scanners |
| Default printer location in Windows 7 | Control Panel > Devices and Printers |
The pattern: Microsoft has moved the printer settings deeper into the Settings app with each Windows release, but the logic — select a printer, then hit “Set as default” — remains identical across versions.
How do I change the default printer in Windows 11?
Microsoft’s official guidance for Windows 11 is straightforward: open Settings, navigate to Printers & scanners, select your printer, and click “Set as default.” The Microsoft Support (official Windows guidance) confirms the path as Settings > Bluetooth & devices > Printers & scanners. If the “Set as default” button is grayed out, the culprit is almost always the automatic management toggle — you’ll need to turn that off first.
The “Set as default” option disappears entirely if Windows’ automatic management is on. Users who skip the toggle step waste time searching for a button that’s been hidden by design.
How to set default printer in Windows 10?
- Open Start > Settings (gear icon) > Devices > Printers & scanners.
- Select the printer you want as default and click Manage, then Set as default.
- Alternatively, open Control Panel > Devices and Printers, right-click the printer, and choose Set as default printer.
Microsoft’s Microsoft Support (official Windows guidance) notes that after you set a default, the status under the printer name changes to “Default.” Dell Support (PC manufacturer support) confirms that the Control Panel method works as a fallback for users who prefer the classic interface.
How to set default printer in Windows 7?
- Click Start > Control Panel > Devices and Printers.
- Right-click the printer you want as default and select Set as default printer.
- A green checkmark appears on the printer icon to confirm.
The University of Minnesota IT (higher-education tech support) advises this same approach for Windows 7, noting that the green checkmark is the universal indicator across Windows versions.
How do I switch my default printer?
Switching involves the same steps — just select a different printer in the Printers & scanners list and mark it as default. Windows removes the “Default” status from the old printer and assigns it to the new one. If you have the automatic management feature enabled, remember to disable it first or Windows will revert to its own choice the next time you print from a different app.
Switching printers manually gives you control, but it also means you must remember to change it when your printing needs shift — Windows won’t adapt for you.
The pattern: Windows 11 and 10 share the same logic, but the path differs slightly.
How to set default printer permanently?
A permanent default printer requires one critical setting change: turning off “Let Windows manage my default printer.” Microsoft’s Microsoft Support (official Windows guidance) explicitly states that this feature must be deselected before you can manually choose a default. Once disabled, your selection stays until you change it — no surprise switches.
How to disable “Let Windows manage my default printer”?
- Open Settings > Bluetooth & devices (Windows 11) or Settings > Devices (Windows 10).
- Go to Printers & scanners.
- Find the toggle Let Windows manage my default printer and switch it to Off.
- Now select a printer and click Set as default.
The Microsoft Q&A (official Microsoft community forum) reinforces that the toggle must be unchecked before manual assignment works — otherwise the option remains grayed out.
How to prevent Windows from changing the default printer?
Once you turn off automatic management, Windows stops switching your default based on recent usage. The printer you set remains default until you manually change it. Dell Support (PC manufacturer support) recommends this as the primary fix for users who find their default keeps changing after connecting to different networks or installing new printer drivers.
The implication: a permanent default comes at the cost of convenience — you lose Windows’ ability to route print jobs to the printer you actually used last, but you gain predictability.
What happens if I let Windows manage my default printer?
When “Let Windows manage my default printer” is enabled — which is the default in both Windows 10 and 11 — Windows automatically sets the most recently used printer as the default. Microsoft’s Microsoft Support (official Windows guidance) explains that the last-used printer becomes the default, which can be helpful in multi-printer households but frustrating when you print a quick test page to the wrong device.
How does Windows decide which printer to use automatically?
Windows tracks which printer you used for your most recent print job. If you printed a receipt to the kitchen label printer, that becomes the system default — including for your next 50-page report. The Microsoft Q&A (official Microsoft community forum) states that Windows 10 specifically can use the last printer used as the default when this feature is enabled.
What are the pros and cons of automatic management?
Upsides
- Convenient for multi-user households or offices where different people use different printers
- Reduces the chance of sending a job to a printer that’s offline or out of paper
- Works well when the last-used printer is almost always the one you want
Downsides
- Can cause unexpected printouts to a different printer, especially after a one-off print job
- Frustrating for users who always print to one specific device
- Overrides manual selections silently, so you may not notice until paper emerges from the wrong machine
The trade-off: automatic management trades control for convenience. For a single-printer home office, turning it off makes sense. For a shared workspace with multiple devices, leaving it on may save more headaches than it causes.
How do I know which is my default printer?
Checking your current default printer takes only a few seconds. In Windows 11, open Settings > Bluetooth & devices > Printers & scanners — the default printer shows a “Default” label under its name. Microsoft’s Microsoft Support (official Windows guidance) confirms that the status changes to “Default” once a printer is set.
How to check default printer in Windows 10?
Open Settings > Devices > Printers & scanners. Look for a checkmark or the word “Default” next to the printer name. In Control Panel > Devices and Printers, the default printer displays a green checkmark icon — a visual cue that’s been part of Windows since version 7. The University of Minnesota IT (higher-education tech support) highlights the green checkmark as the most reliable indicator across Windows versions.
How to check default printer in Windows 11?
Settings > Bluetooth & devices > Printers & scanners. If you see “Default” under a printer’s name, that’s your current default. No label means Windows is either using automatic management or no default has been set.
What does the default printer icon look like?
In the Printers & scanners list, the default printer shows a small checkmark badge on its icon and the word “Default” in gray text beneath the printer name. In Control Panel’s Devices and Printers view, a green circle with a white checkmark overlays the printer icon. Both indicators serve the same purpose — clear at-a-glance confirmation.
Why this matters: if you don’t know which printer is the default, you don’t know where your print jobs are going. Checking it before hitting “Print” is the simplest way to avoid wasting paper and ink.
How do I set my HP printer as my default printer?
Setting an HP printer as default follows the exact same Windows procedure as any other printer — HP printers appear in the printer list like any other installed device. The key prerequisite is that the HP printer driver is correctly installed. Once installed, the printer appears in Printers & scanners and you can set it as default using the steps above.
Where do I find my HP printer settings?
HP printer settings are accessible through the Windows Printers & scanners list, not through a separate HP app. Right-click the HP printer in the list and select “Printing preferences” to adjust paper size, quality, and other defaults. HP’s own printer software (HP Smart) also provides access to these settings but uses the same underlying Windows configuration.
How to set HP printer as default on Windows 10?
- Open Settings > Devices > Printers & scanners.
- Find your HP printer in the list.
- Select it and click Manage, then Set as default.
If the HP printer doesn’t appear, check that the driver is installed. Windows Update typically handles this automatically, but you can also download the latest driver from HP Support (printer manufacturer support page).
The pattern: brand-specific printer setup is a myth — HP, Canon, Epson, and Brother printers all use the same Windows default printer mechanism. The brand only matters for driver installation and printing preferences.
To manually choose a default printer, select Start > Settings > Bluetooth & devices > Printers & scanners.
— Microsoft Support, official Windows guidance
The default printer can also be changed from Control Panel > Devices and Printers by right-clicking and choosing Set as default printer.
— Dell Support, PC manufacturer knowledge base
For anyone running a home office or small business, a misdirected print job isn’t just annoying — it wastes time, paper, and ink. The five minutes spent disabling automatic management and setting a permanent default printer can save hours over a year.
Related reading: How to Use eSIM: iPhone and Android Guide · Convert MP4 to MP3: Free Online, Desktop & Mobile Guide
support.microsoft.com, support.microsoft.com, youtube.com, support.microsoft.com, elevenforum.com, learn.microsoft.com
Frequently asked questions
How do I set a default printer for a specific application like Word?
Word and most applications use your Windows system default printer by default. To print to a different printer within Word without changing the system default, select File > Print and choose a printer from the dropdown. That selection applies only to that session — the system default remains unchanged.
How do I change default printer settings like paper size?
Right-click the printer in Printers & scanners and select “Printing preferences.” Here you can set default paper size, orientation, duplex printing, and quality. These settings apply to all print jobs sent to that printer unless overridden in the application.
Can I have multiple default printers?
No — Windows allows only one default printer at a time. However, you can set different default settings (paper size, quality) for each installed printer and switch between them by selecting a new default.
Why does my default printer keep changing?
The most common cause is that “Let Windows manage my default printer” is enabled. Turn it off in Printers & scanners settings to prevent automatic changes. Other causes include connecting to a new network that installs a network printer or updating printer drivers that reset the default.
How to set default printer on a network?
Network printers appear in the Printers & scanners list after installation. Select the network printer and set it as default the same way you would a local printer. Ensure the network printer is online and connected to your network before setting it as default.
What is the default printer in Windows?
The default printer is the printer Windows sends all print jobs to unless you manually select a different one in the print dialog. It’s the printer that appears automatically when you press Ctrl+P or click Print in any application.
More related posts
 Healthy Dinner Recipes for Two: Nutritious Meals for Couples
 Bukit Batok West Ave 8: Complete Guide to Singapore HDB Estate
 Garrett Popcorn Singapore Price Guide: Sizes, Menus & Locations
 Park Infinia at Wee Nam: Location, Features & Review (2025)
 Singapore CPF Stocks Investment: How to Invest with CPFIS
 Remove Text from Image Online Free with Top AI Tools
 Decathlon City Square Mall Singapore: Location, Hours, Guide
 Best Jurong Point Cake Shops & Halal Cake Options
